How to create a Custom Lithophane Keychain
In this tutorial you will learn how to create a Custom Lithophane Keychain - A perfect christmas or birthday present
Used Software
- Image to Lithophane (3dp.rocks/lithophane)
- Paint.net (Download)
- Blender (Download)
- PrusaSlicer (Download)
These programs are needed to create a Lithophane Keychain, however you don't need to know how to use them.
Prepare Files
At first you need to choose a picture for the keychain. The subject of the picture should be in the center because we will apply a "vignette effect". Download all the model files for this project from prusaprinters: www.prusaprinters.org/prints/48141-custom-lithophane-keychain and put all of them with your picture in a folder to keep an overview.
Edit Picture
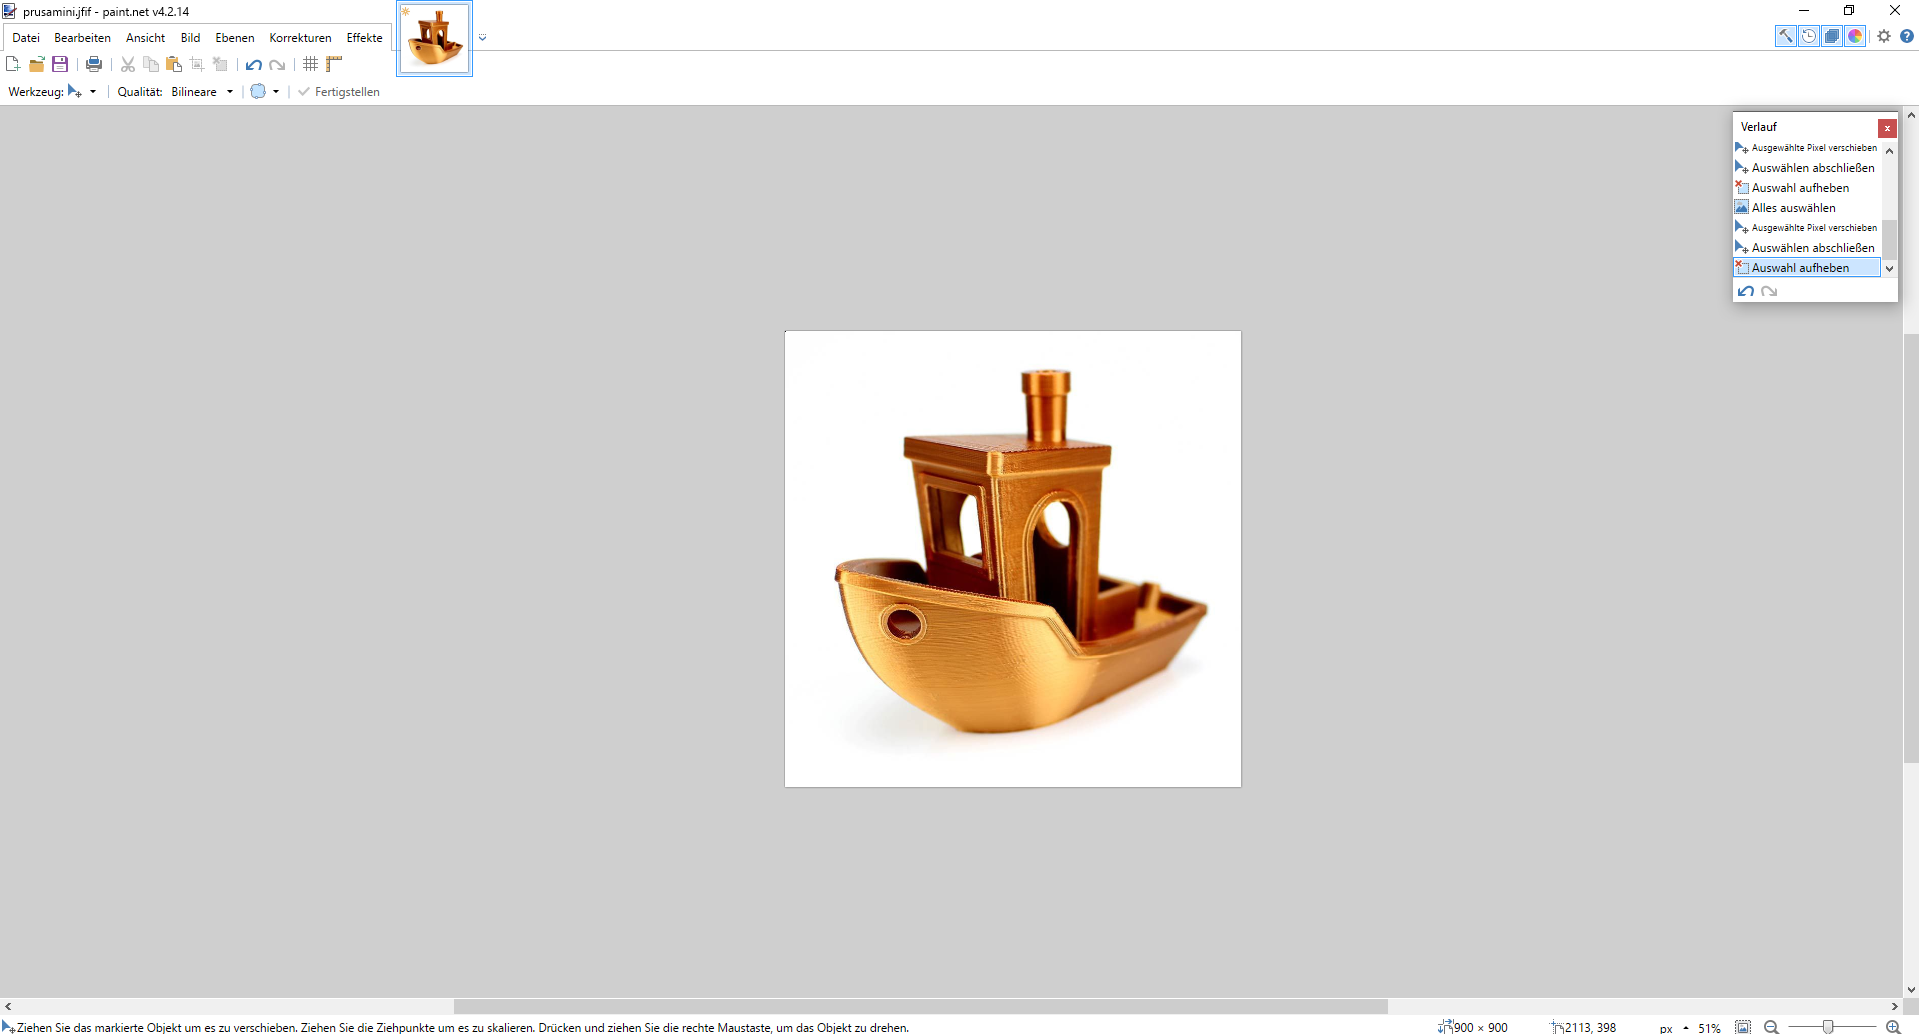
To edit the picture we use Paint.net. Start the program and
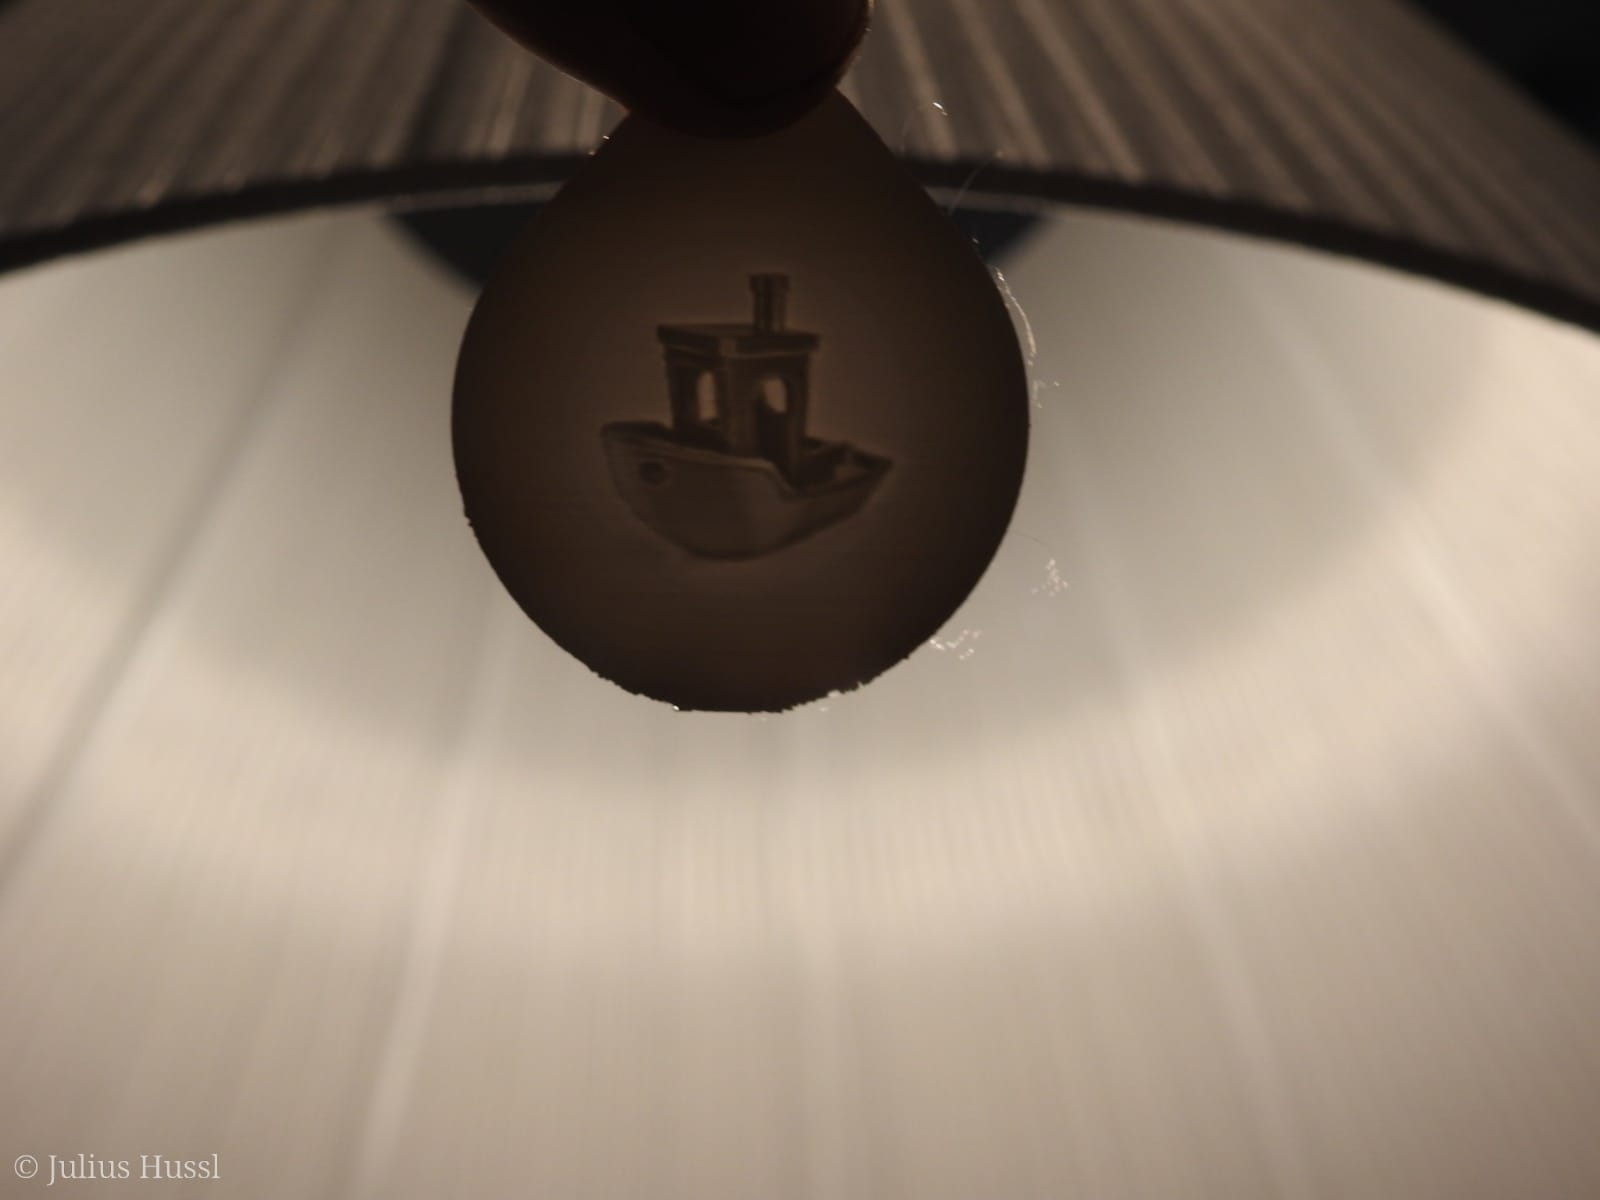
open your picture in it (Ctrl + O). For this tutorial I use a picture
of a Benchy!
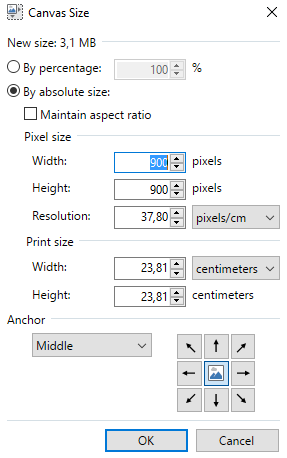
At first, you have to make sure that the picture has the same height
and width. For that click on Image>Canvas Size. A Popup Window
will appear. There deselect "maintain aspect ratio" and set the width
equal to height (or reverse depending on which side is longer. The
image shouldn't be cropped).
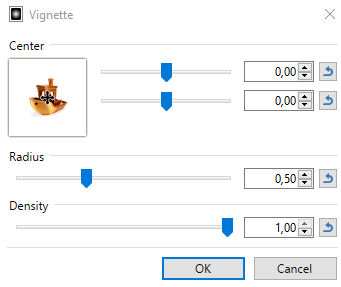
Next we apply a "vignette effect". Click on
effects>photo>vignette. In the Popup Window set the center to
0;0, Radius to 0.50 and Density to 1.
This step is finished and you can save the image in your folder.
Convert Picture to Stl
Now we convert our picture to a Lithophane on the following page:
3dp.rocks/lithophane. Open
the web page and upload your picture ("Images" tab).
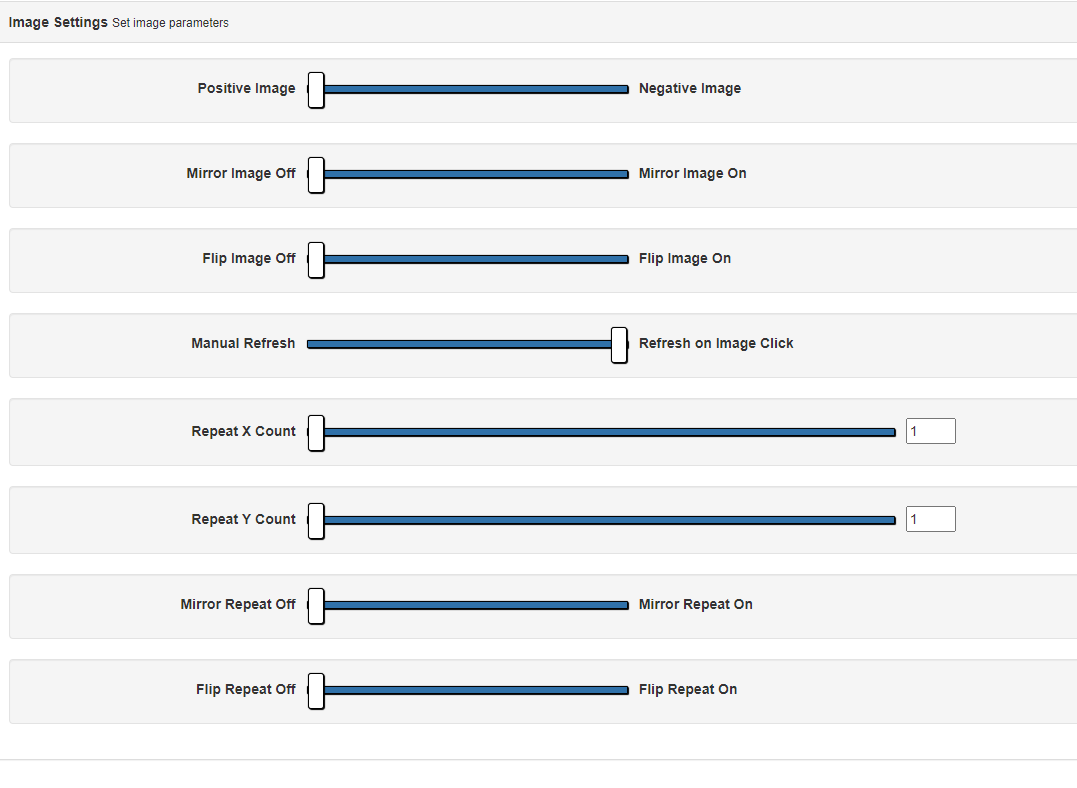
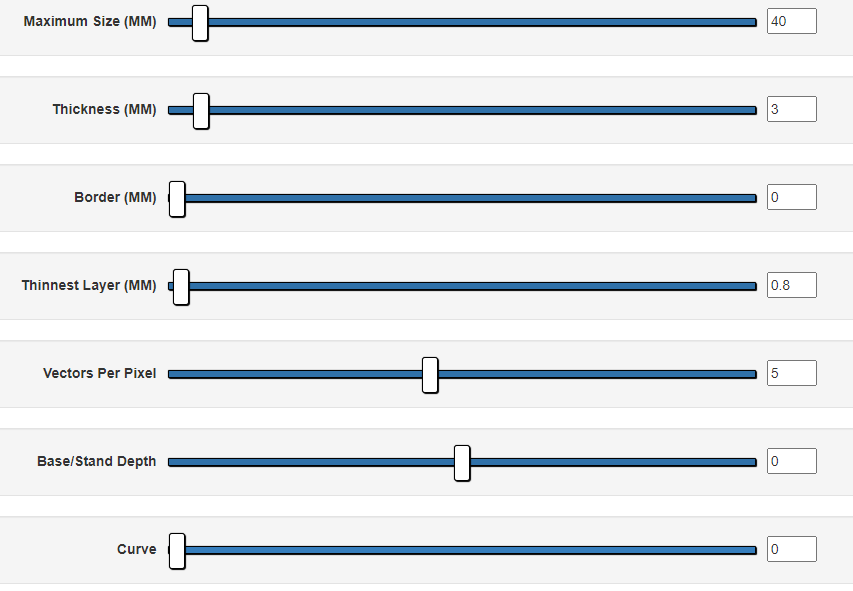
Click on Settings>Image Settings. Now check that the settings
are like in the picture below.
Then click on Settings>Model Settings and check that the
settings are like in the picture below.
When the Settings are set you can click on refresh in the
model tab and then download it.
Convert Stl to Keychain
The .stl file is now a square with your picture on it. To transform
it, we use Blender. Open the program and delete the "Standard
Cube" (Gray Cube in the Center, Delete with "Del").
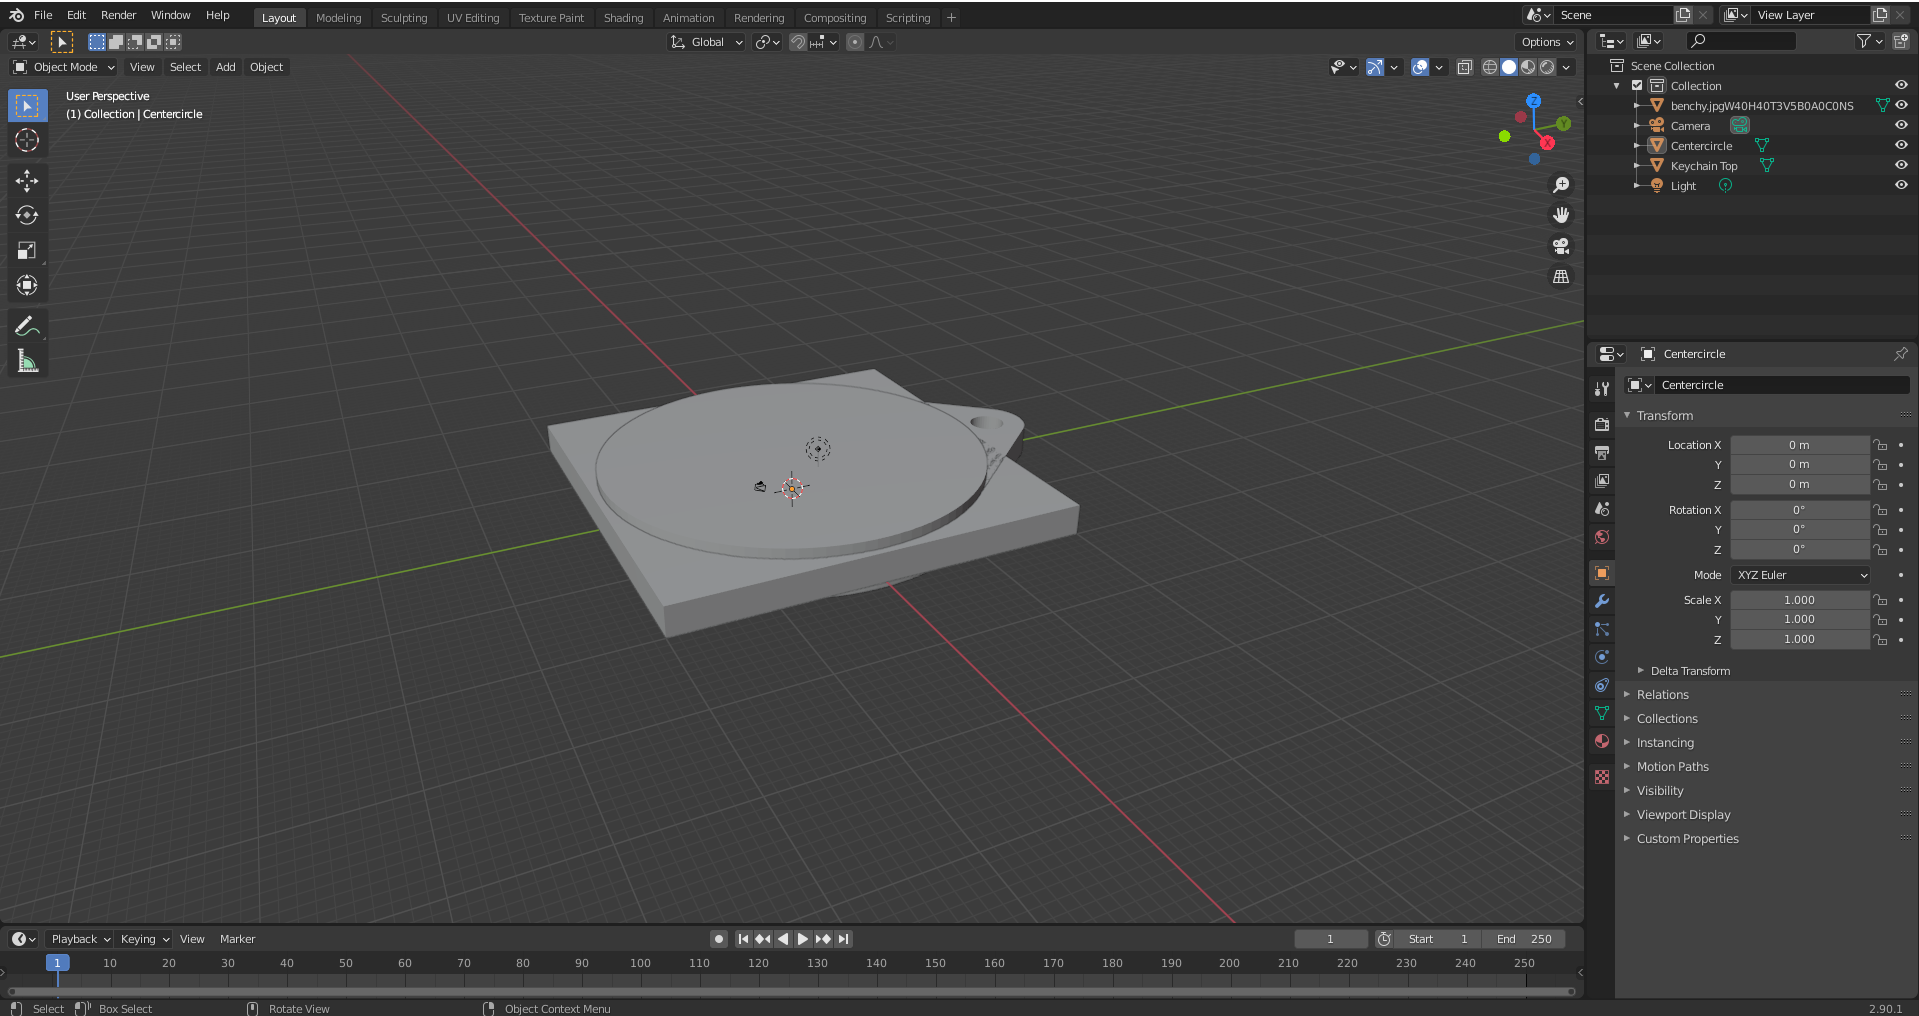
Now open your files by clicking on File>Import>Stl. In the
Popup select "centercircle.stl", "keychain top.stl" and the stl you
generated in the previous step. If everything is correct, it should
look like this:
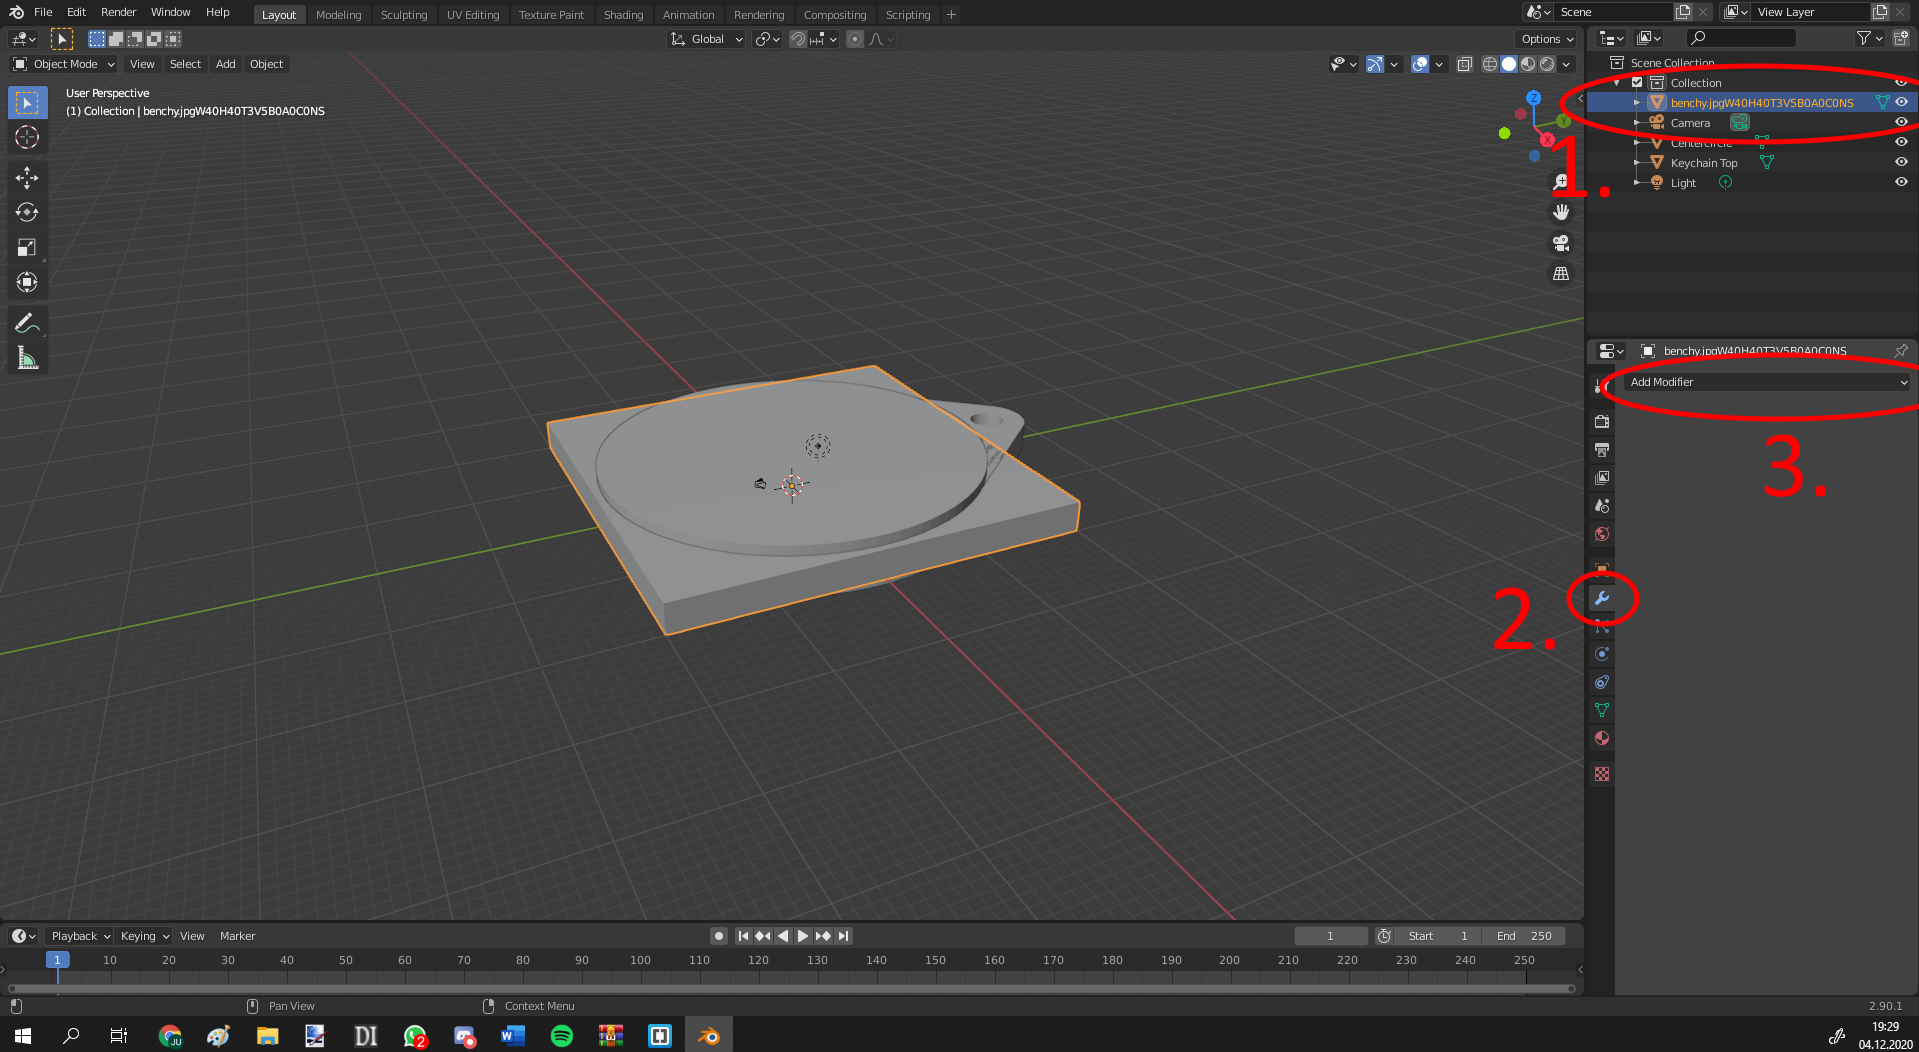
In the next step click on your "generated" file (the file generated on
3dp.rocks/lithophane) in the top right. Then on the little wrench
below and click "Add Modifier". Select "Boolean". Repeat this so you
have two modifiers.
In the first modifier Tab, select "Intersect" and select
"Centercircle" as object.
In the second modifier Tab, select "Union", select "Keychain Top" as
object and set the "Overlap Threshold" to 0.3m.
The Modifier Tab should now look like this:

To save the file, click on your "generated" file in the top right.
Then go to File>Export>Stl. In the Popup select "Selection
Only" and then click on "Export Stl".
(It is important that the "generated" file is selected before
export else you will see just a flat surface in Prusaslicer)
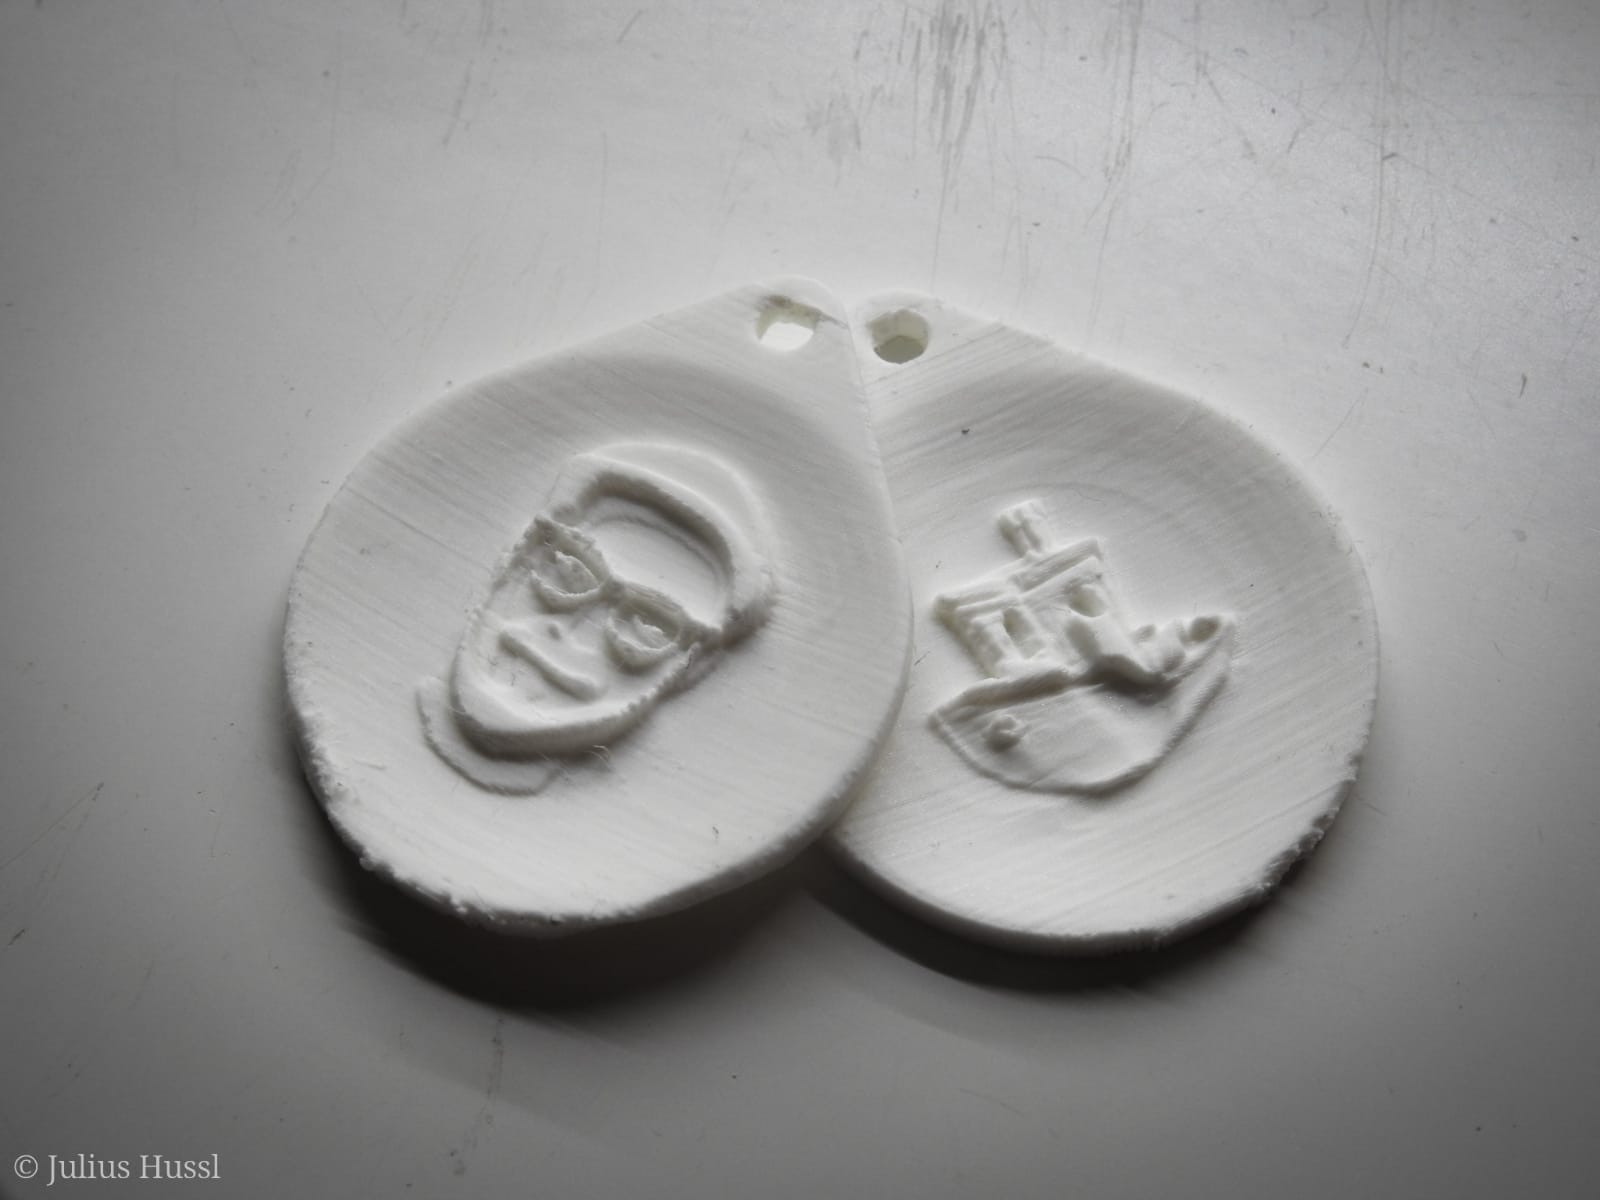
You now have the finished Keychain as an .stl.
Slice it
Since you own a 3d Printer you propably know how to use a Slicer. But here are some notes:
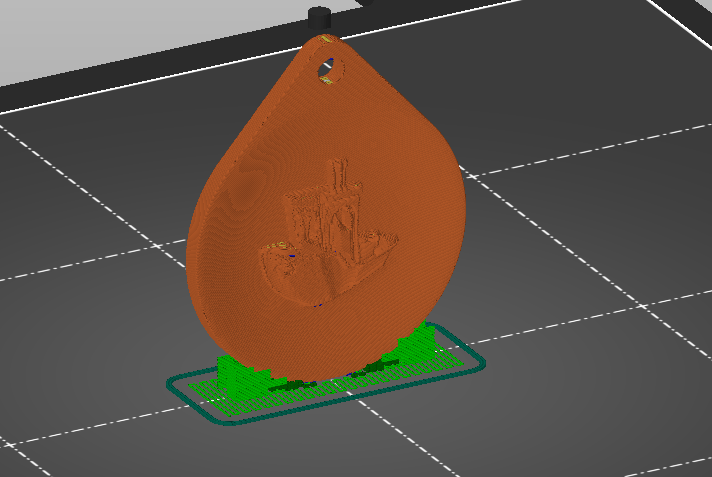
- Most of the time Blenders "Boolean Operator" is faulty. So after import into the PrusaSlicer you should click on the triangle by the filename to repair it.
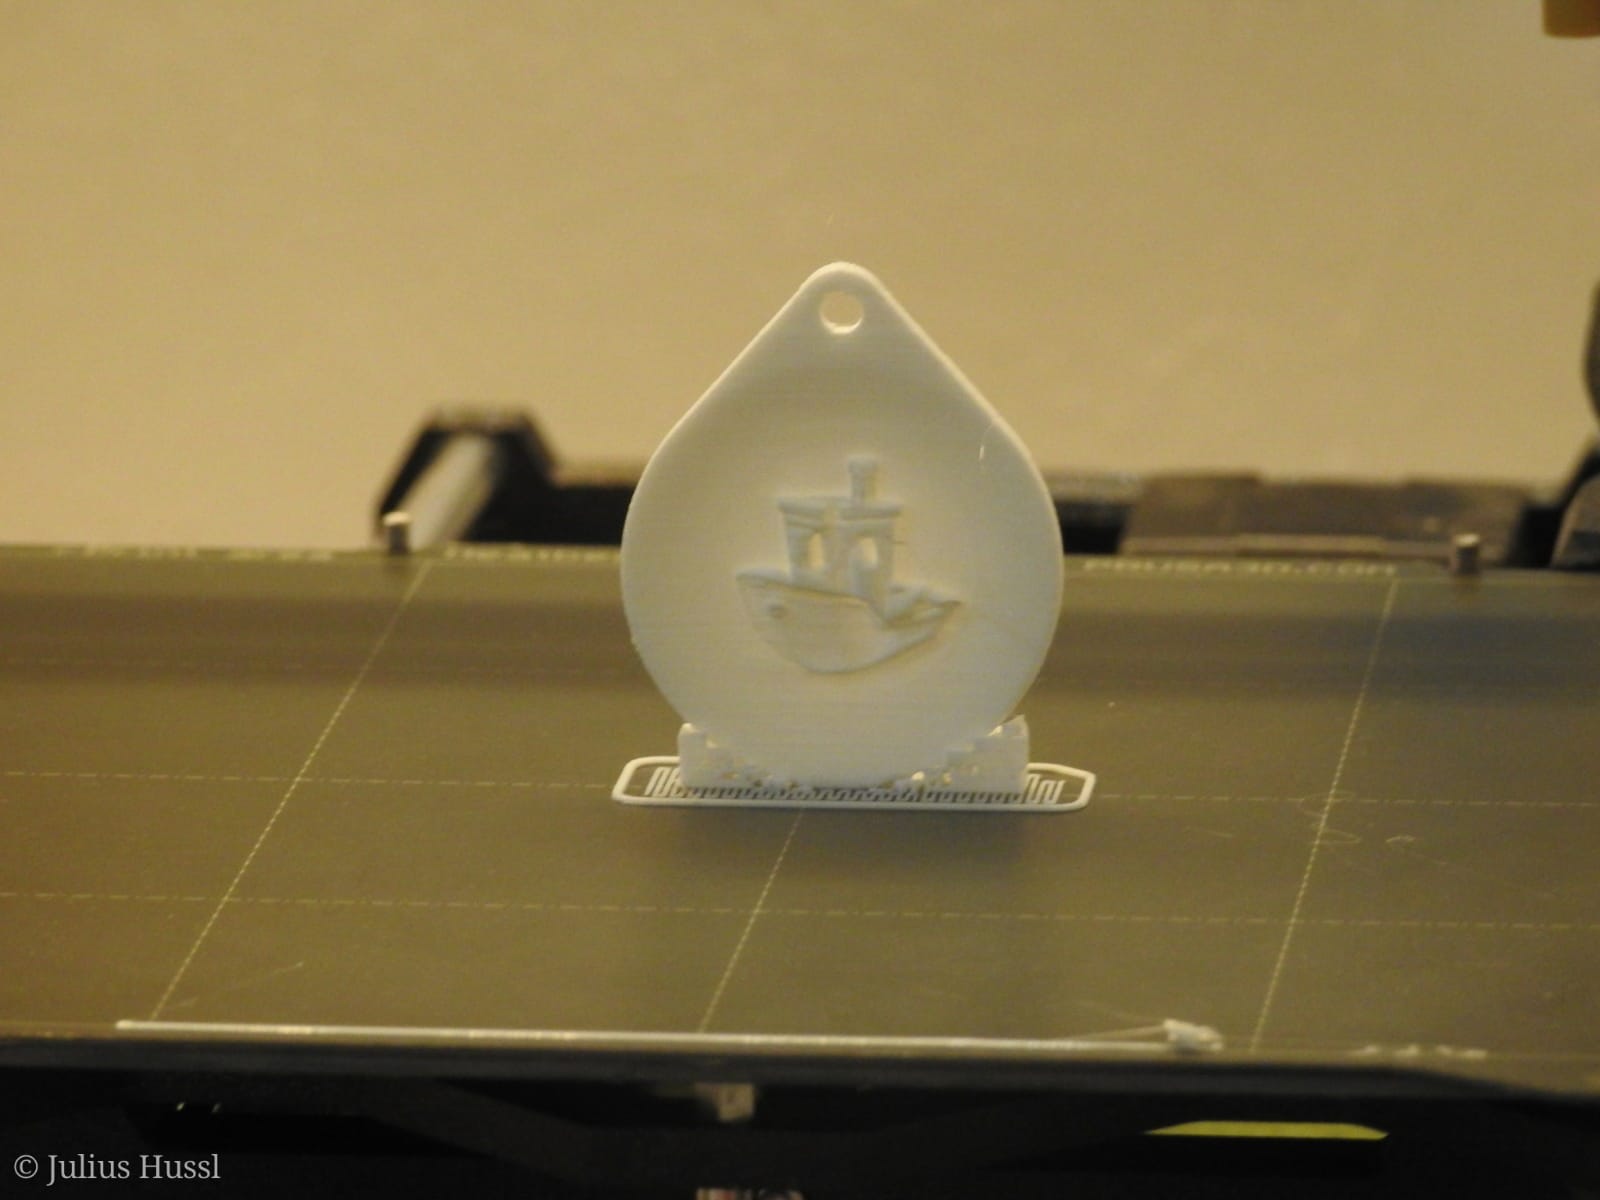
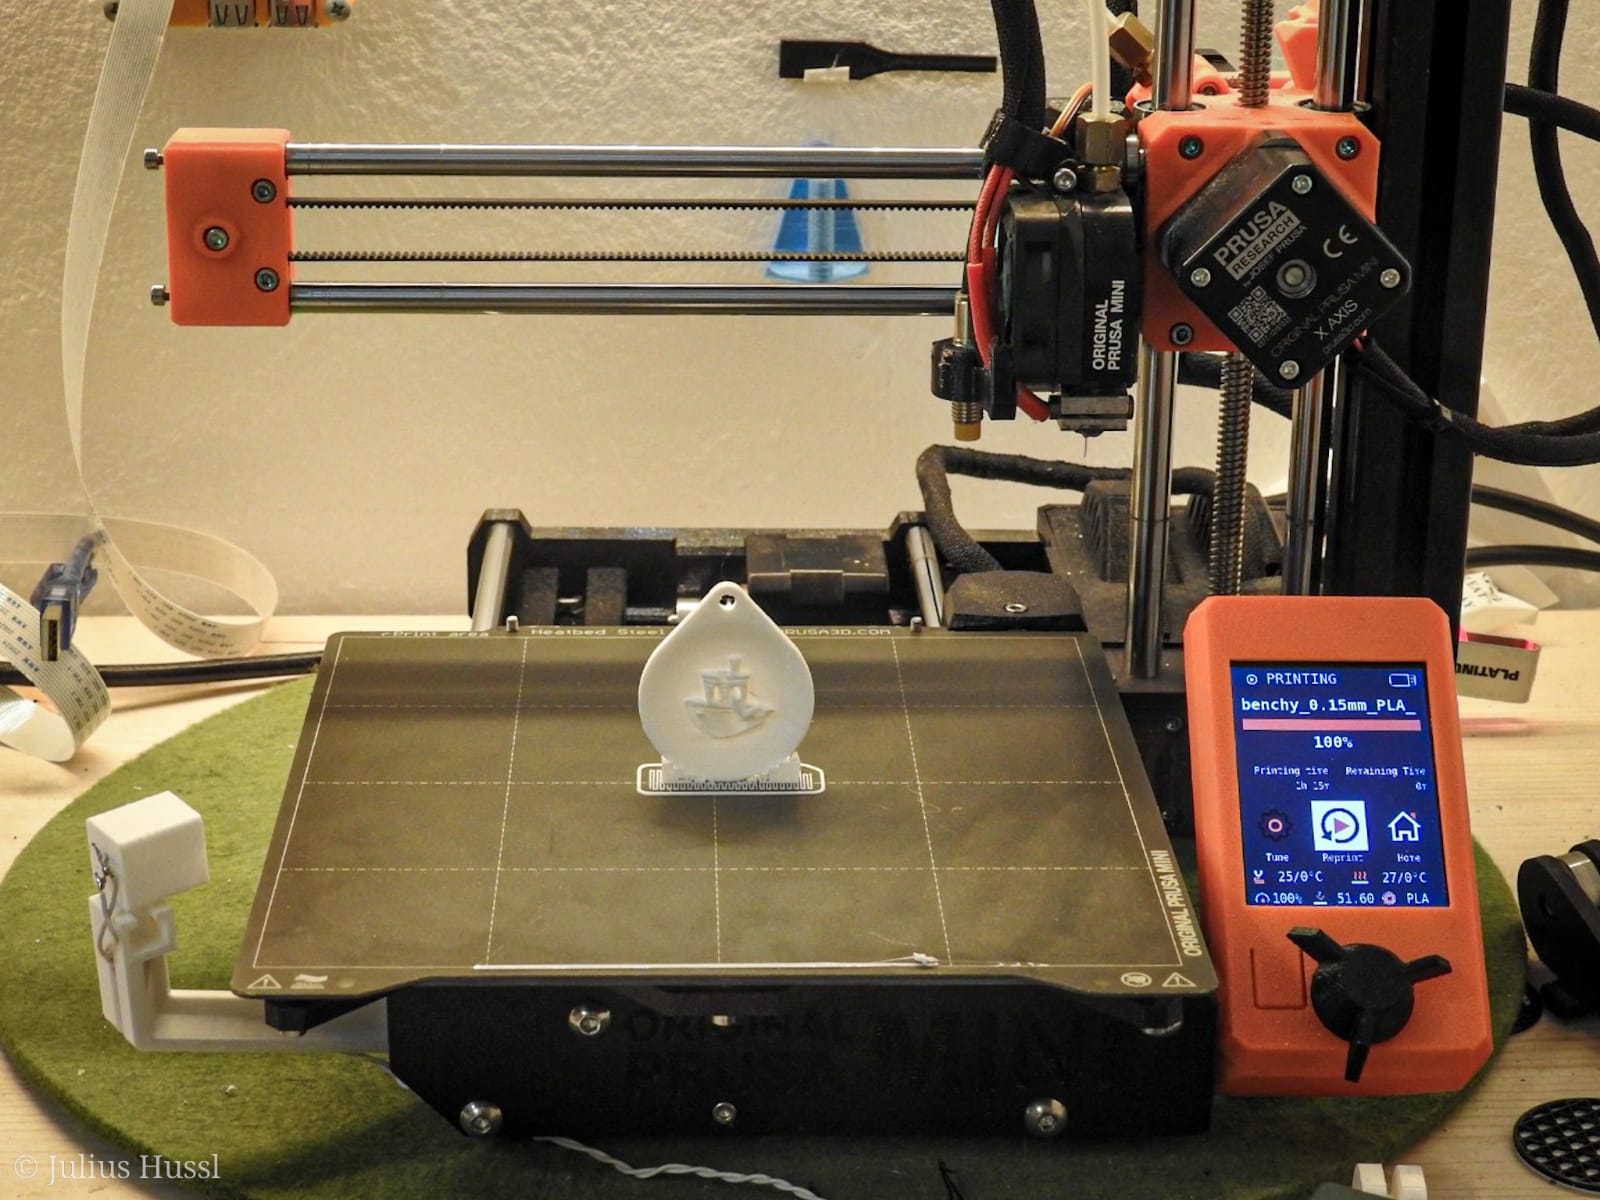
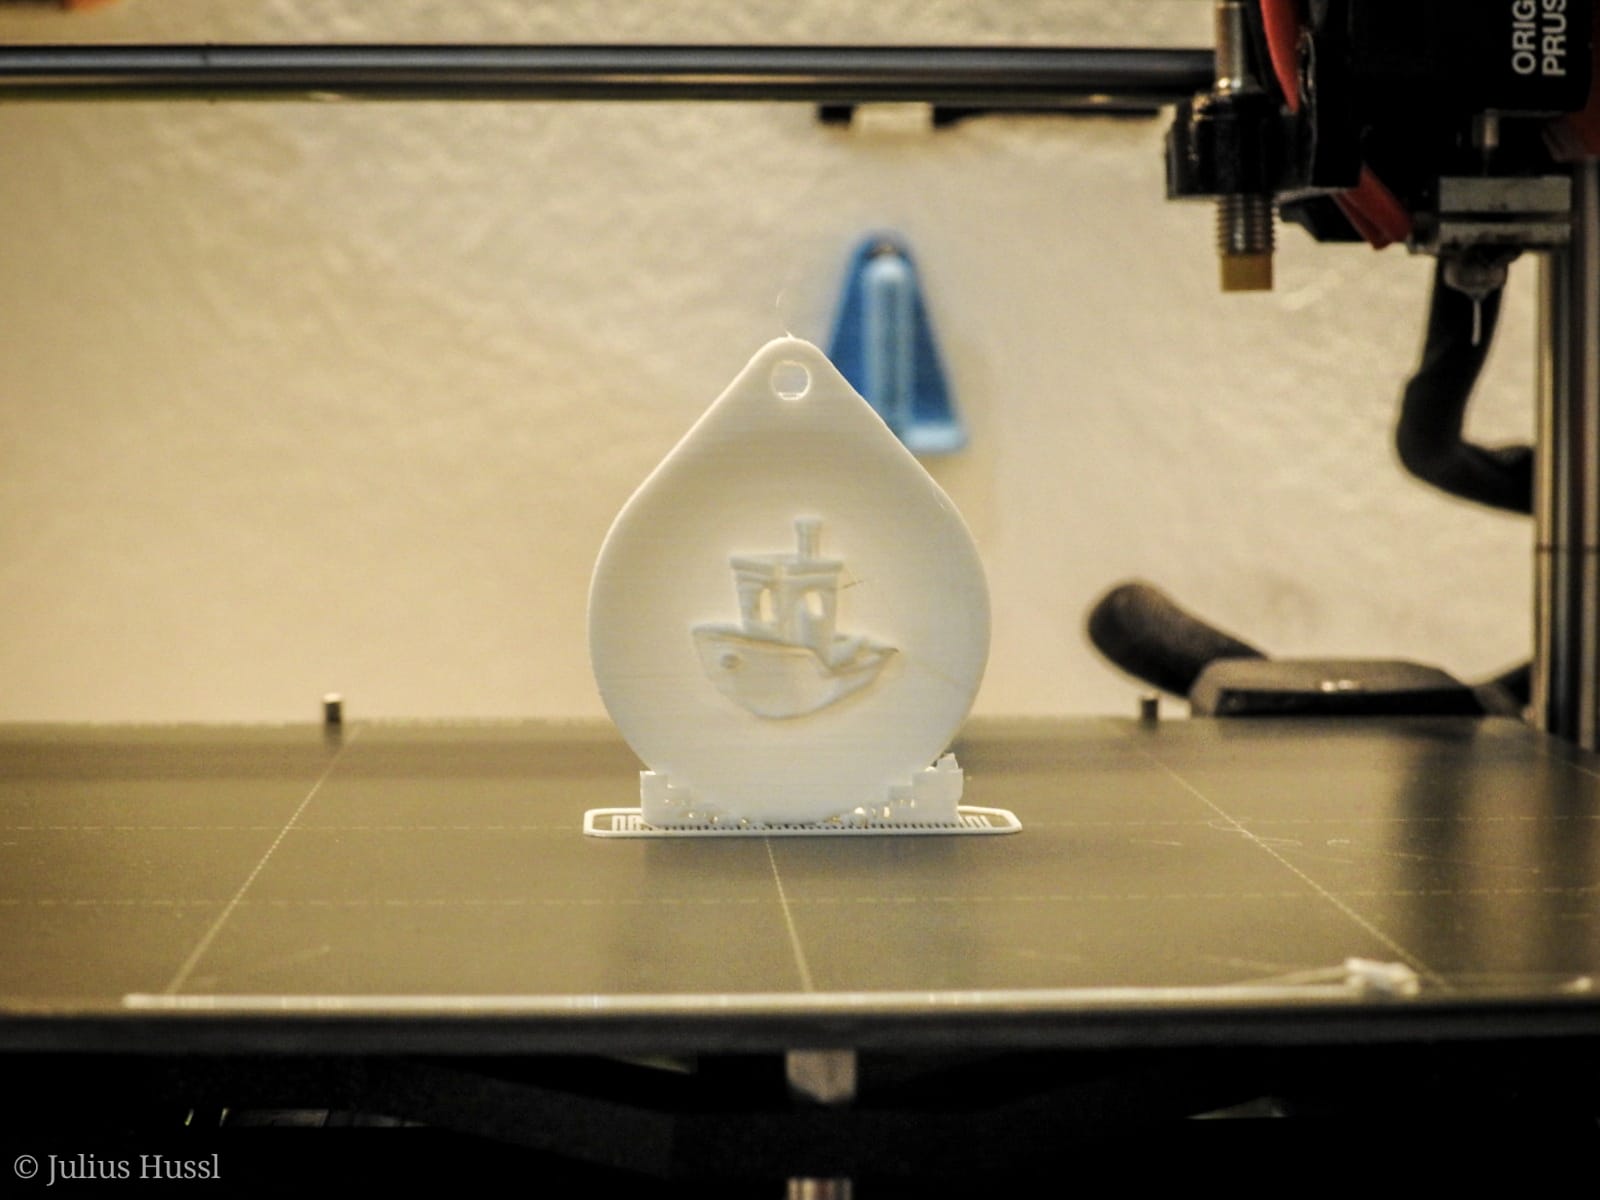
- You have to print the Keychain up right (Like in the Picture below) and therefore enable "Support material on Build plate only"
- Print with a layerheight of 0.1mm and 4 Perimeters
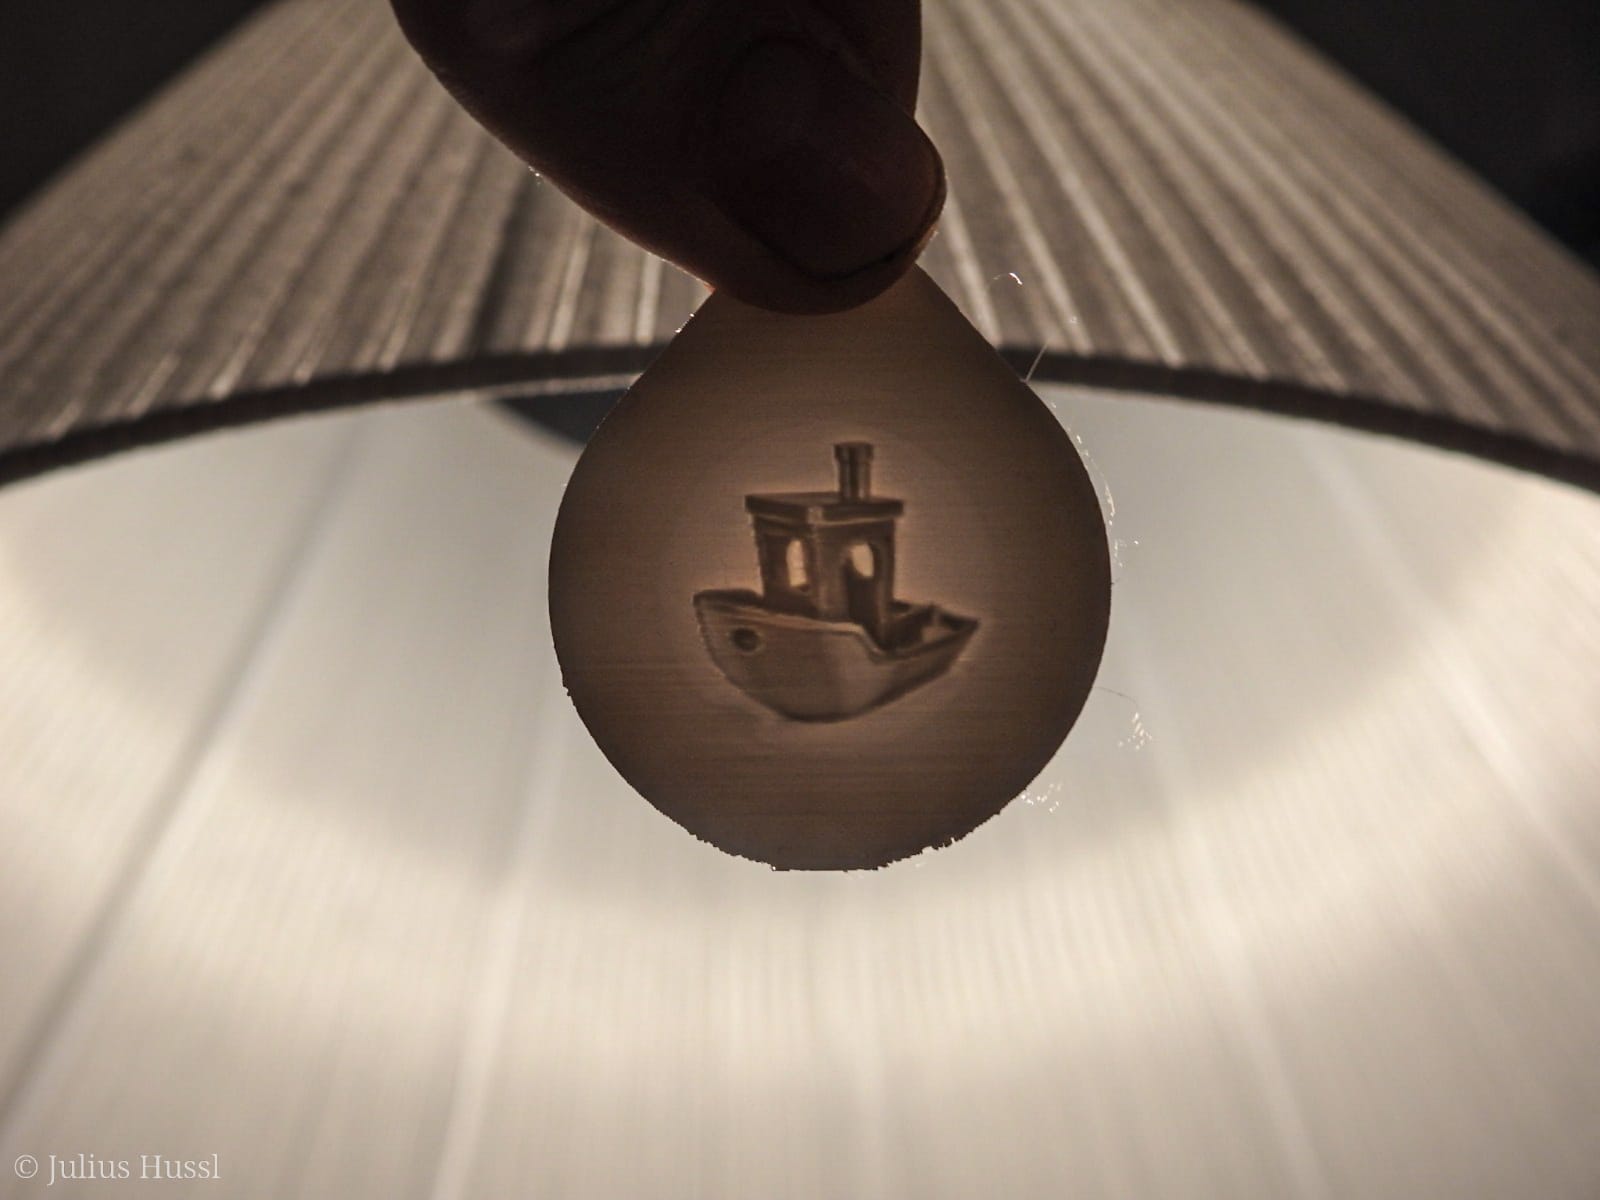
Now you are ready for printing! Have Fun!
I hope this tutorial helped you! If you have any improvements or notes you can write me an Email: juliushussl@gmail.com.